What to prototype ?
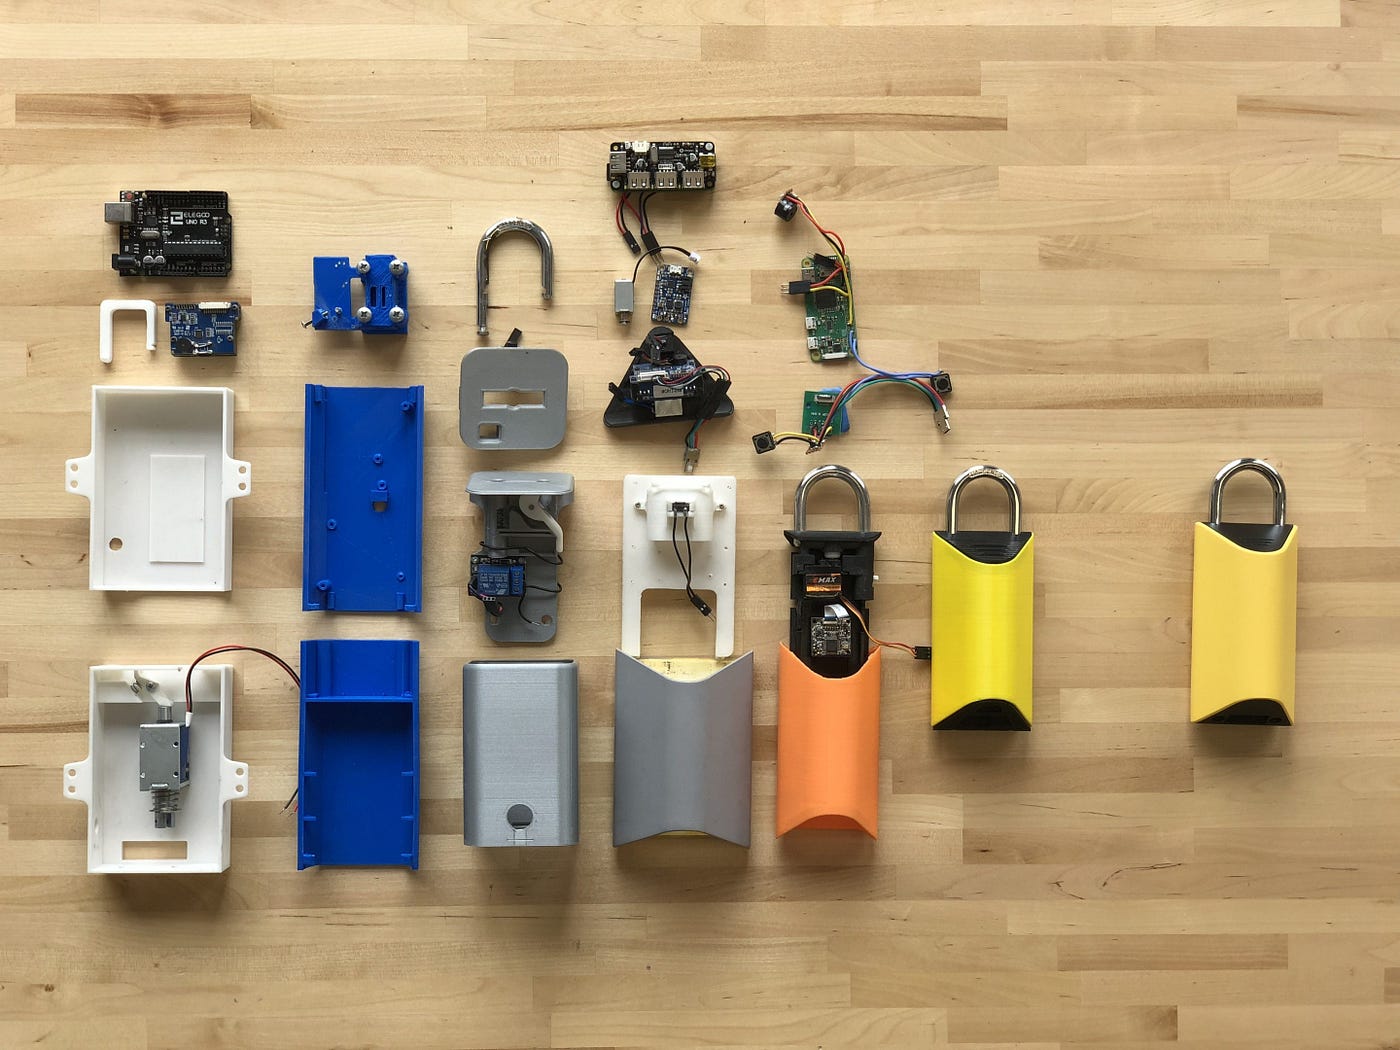
In this post, I will talk about a very important question most design teams face while approaching prototyping — What part of the experience should be prototyped?
I will introduce a tool my company uses internally called the “Magic Matrix”. In the end we will provide some tips regarding using it with other common design methods.
Introduction
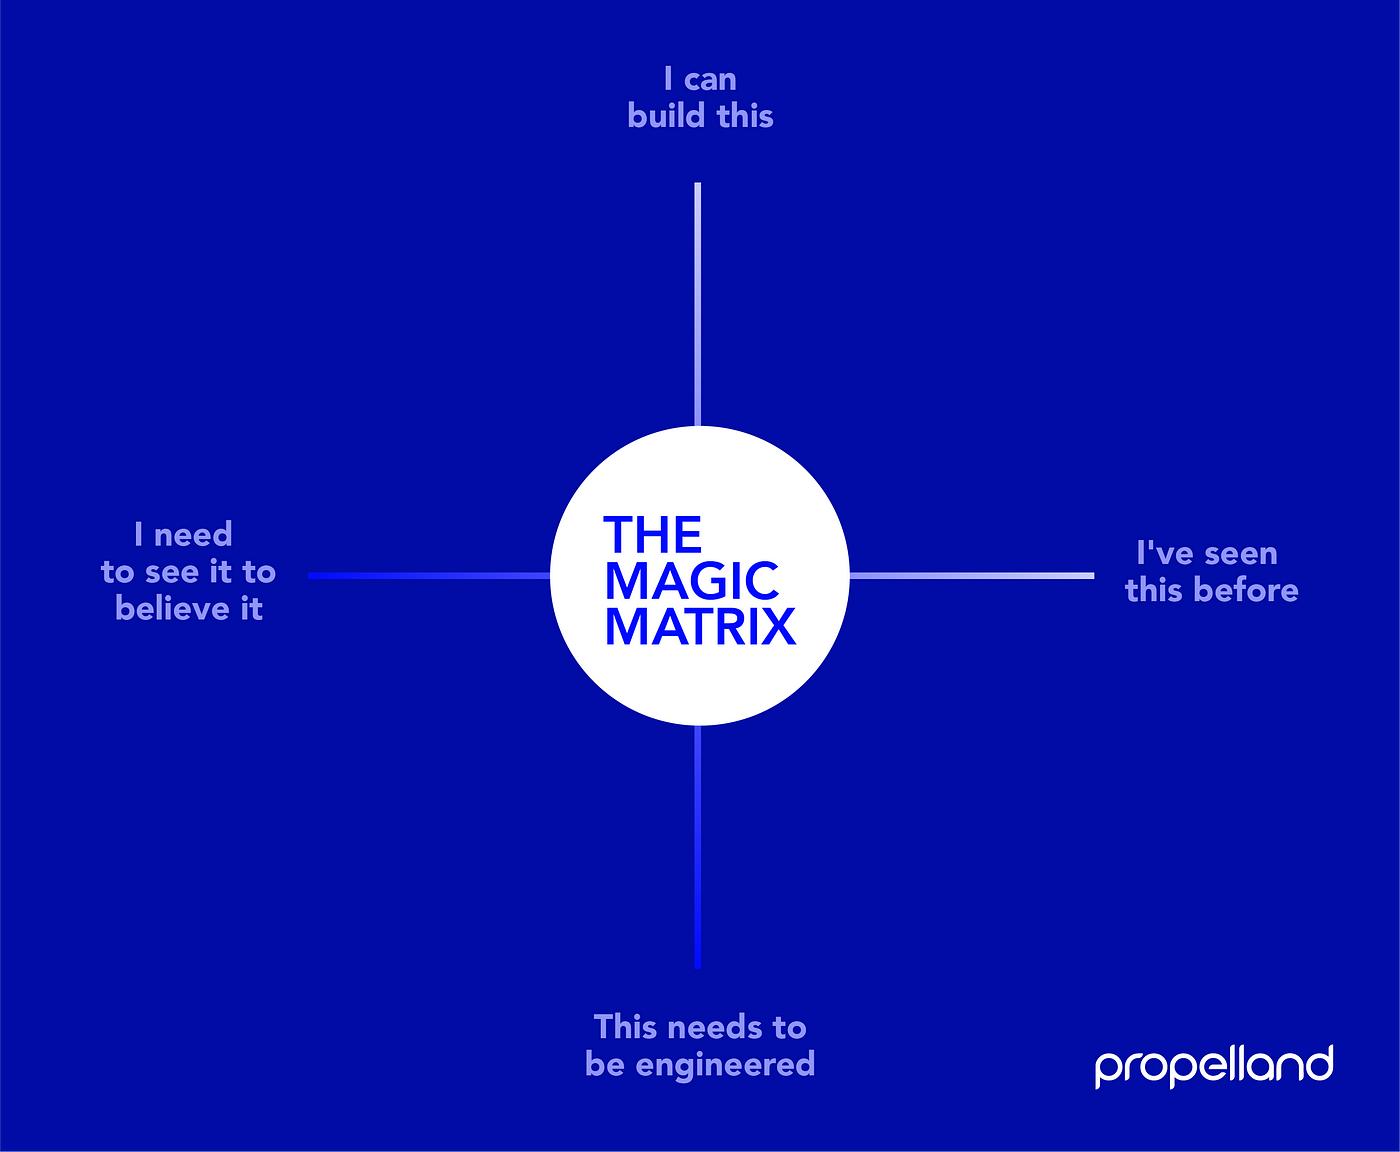
The Magic Matrix breaks down various touch-points and interactions into two main dimensions — Believability (I need to see it to believe it vs. I’ve seen it before) and Achievability (I can build this vs This needs to be engineered).
How to distill ideas using the matrix
Here is the process for using time-based methods like the Customer Journey Maps along with the Magic Matrix to find things that make most sense to prototype.
Identify : Once you have a polished Customer Journey Map, scan through it to identify the touch-points, interactions, or features. These could be elements that you are looking to include in the prototype of your experience. Some possible examples are:
- Touchpoints: AR help bot
- Interaction: Automatically detect customer confusion using AI
- Feature: Contactless payments
Collect Ideas and Team-up : Collect them together with the team and make a new section on the journey map. Let’s call it the New Bag. Make sure you are with the team who will prototype the overall concept. As you pick them, make sure all the team members are on the same page regarding the feature. Ideally, teams consist of an interaction designer, a user researcher, a strategic designer/project manager, and a design technologist. The exercise will take between 40 minutes and an hour and a half to complete. Please make sure you block time accordingly.

Prioritize : You might need the user researcher to lead this process as she has been in close contact with the user and might know more than everyone else about the customer expectations. Now once everyone is there, take one sticky note from the new bag and start pasting them on the matrix based on the following rules: Quadrant 1 : Put things that sound magical and easy to implement in this zone. You may follow the axes for the degree, but try not to be too strict.Possible examples are: A contactless login to replace a routine entry form.
Quadrant 2* : What the team thinks is routine and easy to prototype internally goes here. Like a web app with Google login or a button to reset the device. These are routine features and are required in the final product but may not be worth the time to prototype.
Quadrant 3 : This is the quadrant that is usually empty unless you are building something very specialized. The things here are commonplace but a bit difficult to build in your prototyping workshop. A small rocket engine could be an example.
Quadrant 4 : This is probably the part where quite a few of your ideas land. These features have a “wow!” effect but are difficult to build internally. This does not mean you should just leave them out. A pro tip for handling this is to further break it down to “mine the magic” elements and refine them. We talk about how to handle this in the next section.

Build : Once all the ideas are mapped out, you may already be getting ideas regarding the prototypes. We have some recommendations for each quadrant based on our experience.
Conclusion
In this post, we discussed an easy method to distill which ideas really matter in the prototyping process using a method called the Magic Matrix. It might help save time when trying to look for options that you might not even need.
Please note this is not a fixed map. It evolves as you progress and validate the assumptions. We hope you can mine the magic with this matrix.
Please let me know if you found it useful.
Cheers,
Rohit
Disclaimer: This article was written for my employer and orginially appeared on the company blog. The views expressed here are my own.